I love using games in my classroom for two reasons: 1) they can be adapted to reinforce absolutely ANY subject area and 2) my students have so much fun that they don’t even realize they’re learning!
I’ve written about this before with my Print and Play series but I also use purchased board games and modify them to suit my class needs. The best place to buy these games that I have found honestly is Kmart.
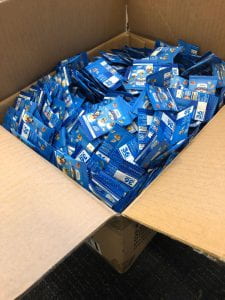
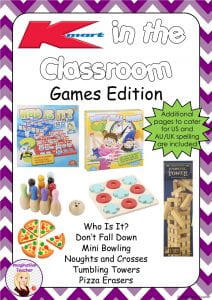
At anywhere from $1 to $5 per game, my rather extensive (and growing!) collection includes ‘Don’t Fall Down’, ‘Tumbling Towers’, and ‘Who Is It?‘ just to name a few. I also find myself drawn to the incredible cheaper items such as the mini erasers, pizza erasers, wooden noughts and crosses sets and mini bowling sets and devising cool ways to use these. At around $1 per set why wouldn’t you?
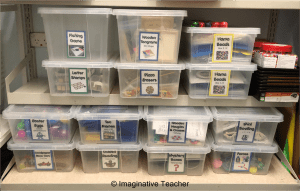
With my collection growing, I needed a way of storing all of my resources that works for me. I have found that the easiest way to store the games is to use plastic tubs. It keeps everything neatly organised and for each session I can quickly just glance at the label, grab the box and go! I also keep a laminated copy of the corresponding worksheets inside the box. That way everything is together and I don’t need to go hunting for anything.
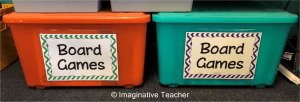
Larger boxed games are kept in a centrally located tub in the classroom labeled ‘Board Games’.
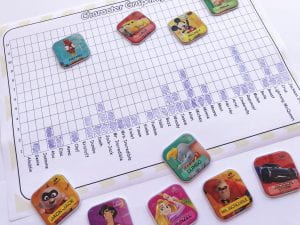
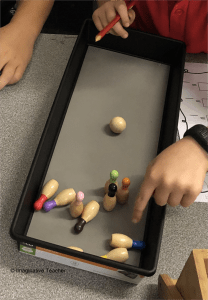
The best games are the ones that can be used in more than one way. For example, the mini bowling set is ideal for practicing multiplication, addition and subtraction skills, while noughts and crosses can be utilized for tallying and graphing…
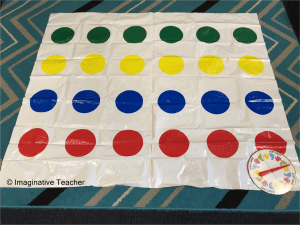
or ‘Don’t Fall Down’ (the Kmart version of ‘Twister’) for sight words, graphing and probability…
or ‘Who Is It?’ (the Kmart version of ‘Guess Who?’) can be utilised for Math, English, Science – the options are endless!
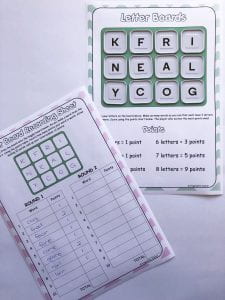
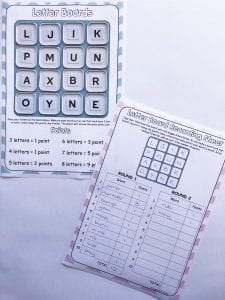
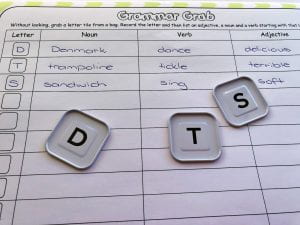
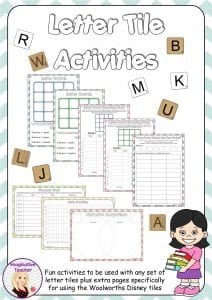
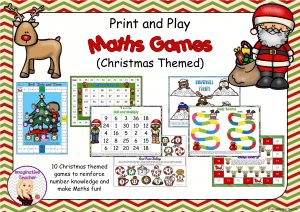
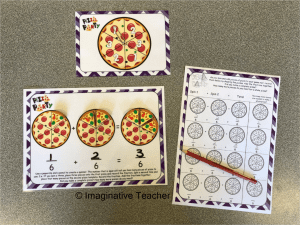
To help you take advantage of any Kmart games you buy, check out this resource. It includes printable recording sheets, games suggests and activities to help you on your gaming journey. For the majority of the games, the prep is extremely minimal; all you need to do is print off the recording sheet, grab your game and play!
I hope this inspires you to have more fun with your class. I’d love to hear how you use games in the classroom to encourage hands-on learning.
✏️❤️ Katie