Mothers Day meets Science

Today I am launching a new series of FREE resources I will be creating entitled ‘….. meets Science’. As a STEM specialist teacher I am always looking for new ways to incorporate STEM across the curriculum so decided to put together a series of free resources to do just that and help celebrate special occasions in more ways than a simple print and colour.

Our first ‘….meets Science’ release comes to you today to celebrate Mothers Day!


Pin it now to come back to later!


Every year for Mother’s Day I try to devise something different for my students to make. As I am teaching younger students this year, I needed a cute craft that they could make but the Mums would also love. Now I’m not one to make something just for the sake of making something, so I combined a bit of cross curricular teaching into our craft this year.

For our first craft, I began with a Health/History lesson on the importance of good hygiene, keeping clean and why it was important. As a class we made a Y Chart on what being healthy looks like, sounds like and feels like.

Then we watched this video:

The History of Soap – https://youtu.be/O5ZblEY457o

and this one:

The Science of Soap – https://youtu.be/EK7IsJ2eFrg


Time to make!

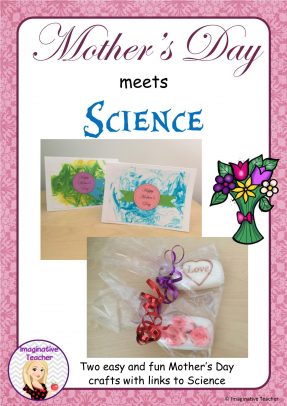
Craft 1: Decoupage Soap
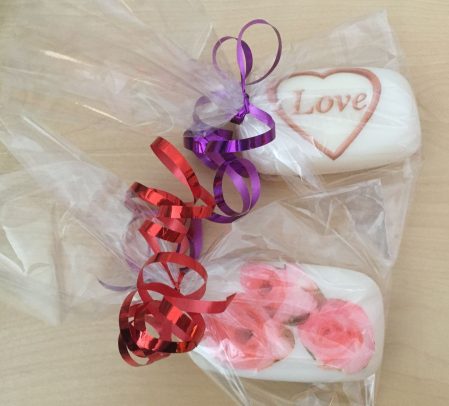
You will need:

  • Bars of soap (pack of 8 for $2.29 from Woolworths)
  • Patterned paper serviettes (pack of 12 for $2 from Cheap as Chips)
  • PVA glue
  1. Choose the pattern from the serviette you wish to place onto your soap.
  2. Carefully cut the chosen picture out.
  3. Pour glue onto the soap and spread it evenly.
  4. Place the cut out picture onto the wet glue.
  5. Put more glue on top of the image and spread it out evenly, covering the image.
  6. Let the glue dry.
  7. Place the soap in a cellophane bag and tie with ribbon.


Note: Patterned serviettes work best as they are thin, will stick down with the glue easily and will break down quite well once the soap is being used.   Images printed onto paper tend to be a bit too stiff once the glue dries.


Our second craft was a card, and we combined this into our Chemical Science topic of how things can be mixed and changed.


Craft 2: Shaving Cream Marbling
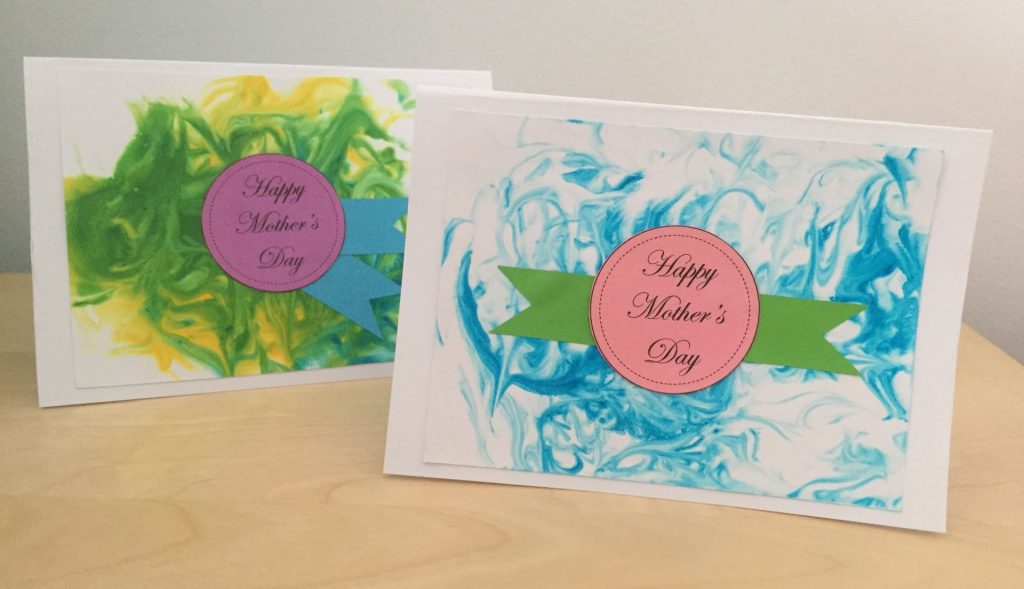
You will need:

  • Shaving cream (the cheap, generic brand is perfect!)
  • Food colouring
  • Toothpicks
  • A small lid or tray
  • An old ruler
  • Cardboard


  1. Spray a thin layer of shaving cream on to the small lid / tray.
  2. Spread it out evenly using the ruler.
  3. Place drops of food colouring onto the shaving cream.
  4. Using a toothpick, swirl the food colouring and the clean shaving cream around on the lid.
  5. Place a piece of cardboard onto the coloured shaving cream and press down gently.
  6. Slowly pull the cardboard off the shaving cream.
  7. With an old ruler, scrape off the excess shaving cream. The cardboard will already be dry as the shaving cream has a drying agent included in the ingredients.
  8. Use it as the background of your card.


If you would like the templates to make the card shown above plus a set of step by step picture instructions, simply click on the image below to be taken to the free download.

I hope your class has as much fun as we did! More free ‘…meets Science’ activities to come!

✏️❤️ Katie
 

Hands on STEM – Addition with Unifix Cubes

I have quite a few younger year one students who really struggle with basic addition. They also often confuse the concept of addition with subtraction. For them, using hands on manipulatives rather than fingers is an absolute MUST!

This is a hands on STEM activity I created to help those students really visualise adding single digit numbers up to ten, record their thinking with colouring in and then writing the corresponding number sum.

By also providing two different recording sheets (the first is for task cards 1 to 6, the second is for cards task 7 to 12), I am able to differentiate for those students who can do more by providing both recording sheets and the full set of task cards and also those students who need to focus on smaller tasks, by providing only the first 6 task cards and the first recording sheet.

If you’d like a copy of the free hands on STEM activity, just click on the picture below. I hope you find this useful!


✏️❤️ Katie


Didn’t hear? Ask a peer!

This year I am lucky enough to teach a truly gorgeous group of year 1 and 2 students. However, no matter how lovely a class of children are, there are so many things going on in their world that they often ‘switch off’ and honestly need to be taught HOW to listen to instructions.

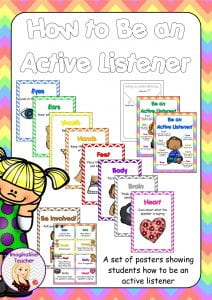
Last year I began teaching the concept of being active listeners and it was amazing how quickly they picked it up. After introducing the 8 individual key areas (eyes, ears, mouth, hands, feet, body, brain and heart), I would have students demonstrate exactly what being an active listener looks like. Role playing is such fun! Also by using positive praise such as ‘I can see Jack is using wonderful eye contact ‘ etc on a regular basis, it really did help to remind students about the correct way to listen respectfully.

Now I’m not saying that my kiddos are brilliant listeners all the time (it takes A LOT of work for some!), they are now taking big leaps in being respectful and appropriate listeners.

If you’d like a set of the Active Listening posters I created, click on the picture below.

Ok, ok, so what if students are struggling with their listening during instruction time? I find that a lot of my younger students are so excited to be in class that sometimes they don’t quite catch all of the instructions to a task and I will hear ‘I can’t remember what to do. Miss, what was that last bit?’ Or ‘Can you tell me again what to do?’

To put the responsibility back to the students for their own listening behaviour, I created a set of ‘Ask 3 Before Me’ reminder posters. A simple concept – if a student hasn’t heard all of the instructions, they need to go and ask 3 responsible classmates what the expectation is before they come to me to ask. I assure students that absolutely they can come to me at any time – but first they need to step it up and address the issue themselves, rather than expecting me to solve it for them. If they didn’t hear, ask a peer. I also use a quick hand signal of holding up 3 fingers – a voice saver and reminder to do what needs to be done.

If you’d like a copy of the free posters, just click on the picture below.

✏️❤️ Katie