Today I am launching a new series of FREE resources I will be creating entitled ‘….. meets Science’. As a STEM specialist teacher I am always looking for new ways to incorporate STEM across the curriculum so decided to put together a series of free resources to do just that and help celebrate special occasions in more ways than a simple print and colour.
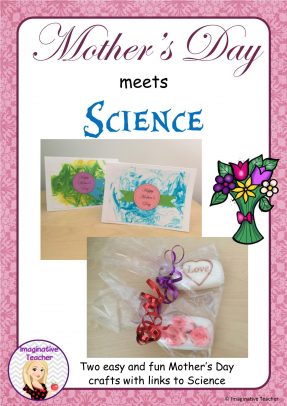
Our first ‘….meets Science’ release comes to you today to celebrate Mothers Day!
Pin it now to come back to later!
Every year for Mother’s Day I try to devise something different for my students to make. As I am teaching younger students this year, I needed a cute craft that they could make but the Mums would also love. Now I’m not one to make something just for the sake of making something, so I combined a bit of cross curricular teaching into our craft this year.
For our first craft, I began with a Health/History lesson on the importance of good hygiene, keeping clean and why it was important. As a class we made a Y Chart on what being healthy looks like, sounds like and feels like.
Then we watched this video:
The History of Soap – https://youtu.be/O5ZblEY457o
and this one:
The Science of Soap – https://youtu.be/EK7IsJ2eFrg
Time to make!
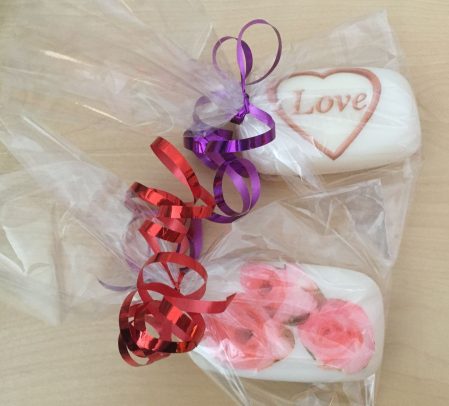
Craft 1: Decoupage Soap
You will need:
- Bars of soap (pack of 8 for $2.29 from Woolworths)
- Patterned paper serviettes (pack of 12 for $2 from Cheap as Chips)
- PVA glue
- Choose the pattern from the serviette you wish to place onto your soap.
- Carefully cut the chosen picture out.
- Pour glue onto the soap and spread it evenly.
- Place the cut out picture onto the wet glue.
- Put more glue on top of the image and spread it out evenly, covering the image.
- Let the glue dry.
- Place the soap in a cellophane bag and tie with ribbon.
Note: Patterned serviettes work best as they are thin, will stick down with the glue easily and will break down quite well once the soap is being used. Images printed onto paper tend to be a bit too stiff once the glue dries.
Our second craft was a card, and we combined this into our Chemical Science topic of how things can be mixed and changed.
Craft 2: Shaving Cream Marbling 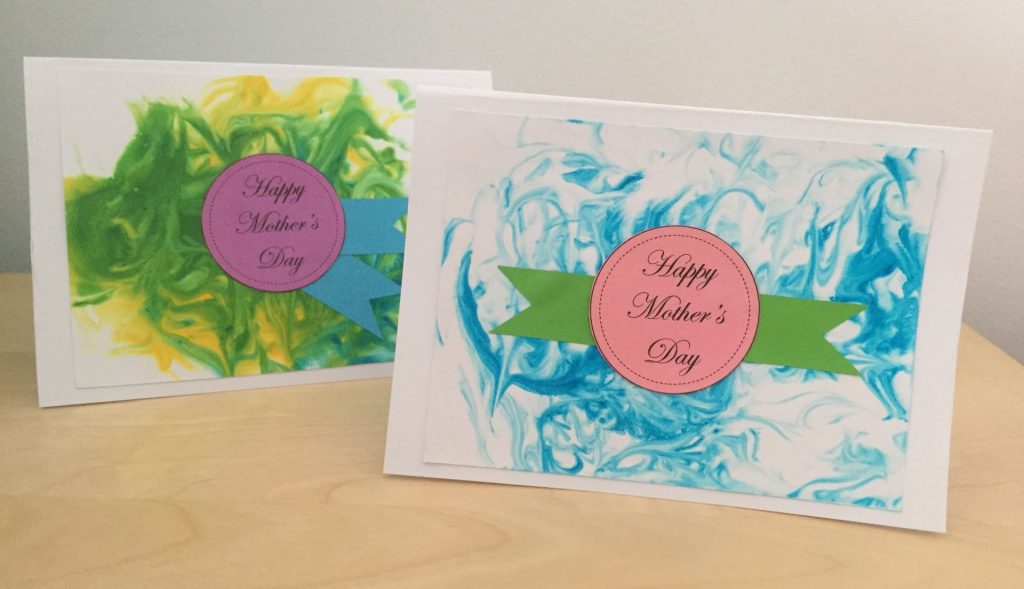
You will need:
- Shaving cream (the cheap, generic brand is perfect!)
- Food colouring
- Toothpicks
- A small lid or tray
- An old ruler
- Cardboard
- Spray a thin layer of shaving cream on to the small lid / tray.
- Spread it out evenly using the ruler.
- Place drops of food colouring onto the shaving cream.
- Using a toothpick, swirl the food colouring and the clean shaving cream around on the lid.
- Place a piece of cardboard onto the coloured shaving cream and press down gently.
- Slowly pull the cardboard off the shaving cream.
- With an old ruler, scrape off the excess shaving cream. The cardboard will already be dry as the shaving cream has a drying agent included in the ingredients.
- Use it as the background of your card.
If you would like the templates to make the card shown above plus a set of step by step picture instructions, simply click on the image below to be taken to the free download.
I hope your class has as much fun as we did! More free ‘…meets Science’ activities to come!
✏️❤️ Katie