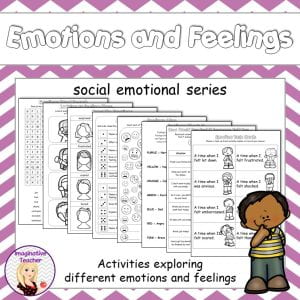
As a lower primary teacher, one of the most rewarding parts of my job is helping students build cultural understanding in meaningful, age‑appropriate ways. The Australian Curriculum encourages us to embed Aboriginal and Torres Strait Islander perspectives across learning areas, and I’ve found that the most powerful learning happens when students can see, touch, play, and interact with the content.
Aboriginal Symbol Bingo is always a class favourite. The moment the boards come out, the energy in the room shifts — students are excited, focused, and ready to play. What they don’t realise is that they’re also learning important cultural knowledge at the same time. Through the game, students become familiar with common Aboriginal art symbols and their meanings. They start recognising patterns, discussing what each symbol represents, and making connections to storytelling. Because it’s hands‑on and interactive, even reluctant learners jump in confidently. It’s a perfect example of how games help children learn without the pressure of “formal” teaching.

Once students have explored symbols, they’re ready to deepen their understanding through the Dreaming Story Activities. These activities support students to engage with well‑known Dreaming stories in a structured but creative way. The stories are written in accessible language, and the follow‑up tasks — sequencing, retelling, drawing, reflecting — help students consolidate their understanding. I’ve seen students proudly retell stories using picture cards, explain the lesson or moral in their own words, and make thoughtful connections between characters, Country, and culture.

What I love most is how naturally the two resources complement each other. After playing Symbol Bingo, students begin noticing symbols within the Dreaming stories. They understand that symbols aren’t just pictures — they’re part of a rich storytelling tradition. The combination of play, reading, discussion, and hands‑on tasks creates a strong foundation for cultural learning. It supports the Australian Curriculum while building respect, curiosity, and cultural awareness.
These resources make cultural learning engaging, memorable, and meaningful. They give students the chance to learn through doing — and that’s when the deepest understanding happens.
Happy teaching!
✏️❤️ Katie

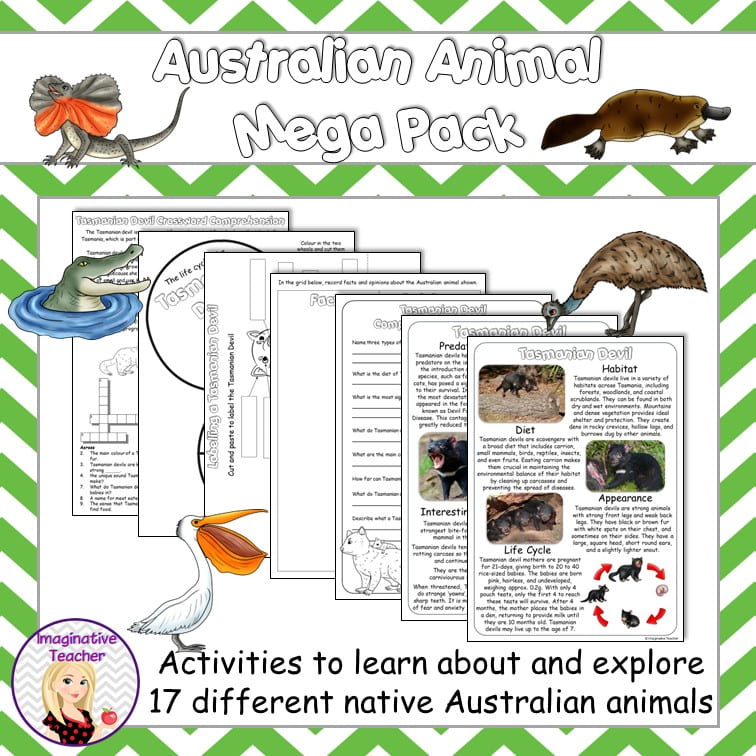
 Our animals are special, and each one has its own interesting story. The kangaroo isn’t just good at hopping; it’s also really good at living in the tough Australian outback. Koalas aren’t just adorable; they’re experts at living in trees, like they’re the kings of the eucalyptus forests. And then there’s the platypus, which is like a puzzle because it’s a mammal that lays eggs and has a bill like a duck. And did you know it’s bioluminescent! That’s breaking all the rules! Now, the kookaburra is like our own stand-up comedian with a laugh that’s really hard to forget. And we can’t forget about the saltwater crocodile, a living dinosaur that still rules over our water.