Inferencing is one of the comprehension skills that I enjoy teaching the most, however it is also one that students find the hardest to master. There are many possible reasons why students find it so difficult. It could be due to a lack of life experiences or sometimes it’s simply because it’s a way of thinking they aren’t often required to do. It may make me sound a bit old here.. (ok ok the internet was only just becoming mainstream when I was a teenager) but these days if a student has a question they can simply ask Siri or Alexa.
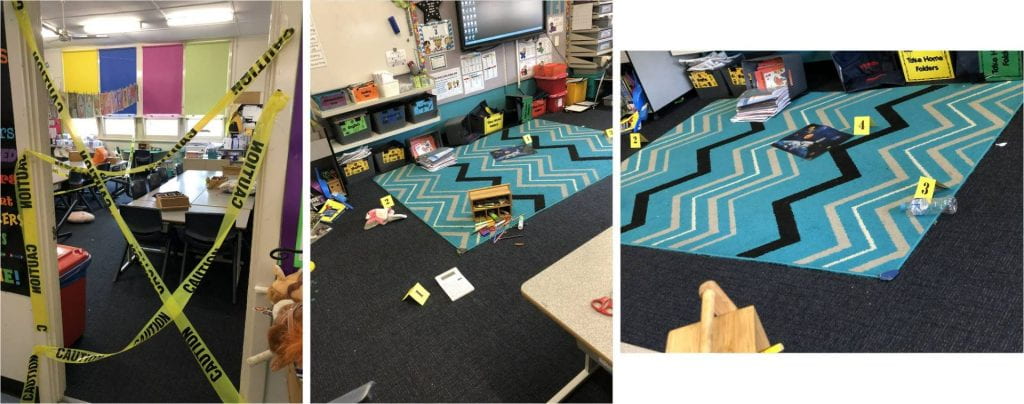
One the first things I do to peak my students interest is a classroom crime scene. I still have past students coming up to me in the yard talking about it. Super easy to set up and such fun!
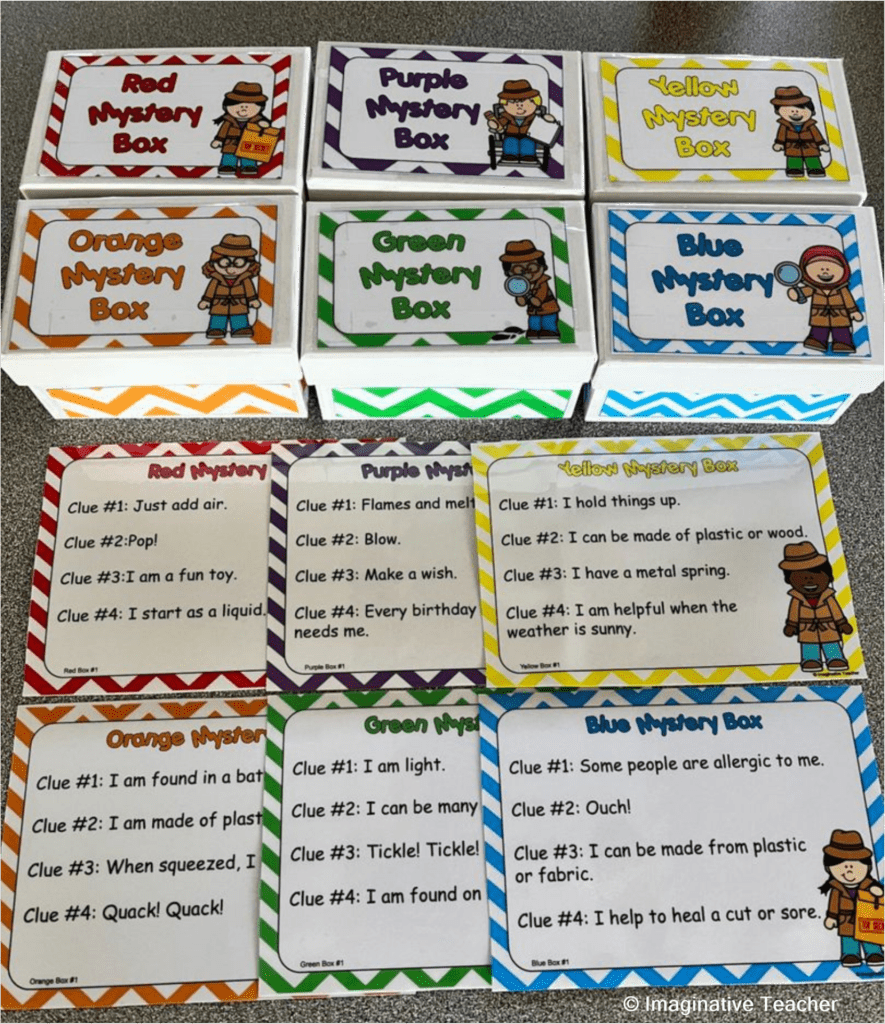
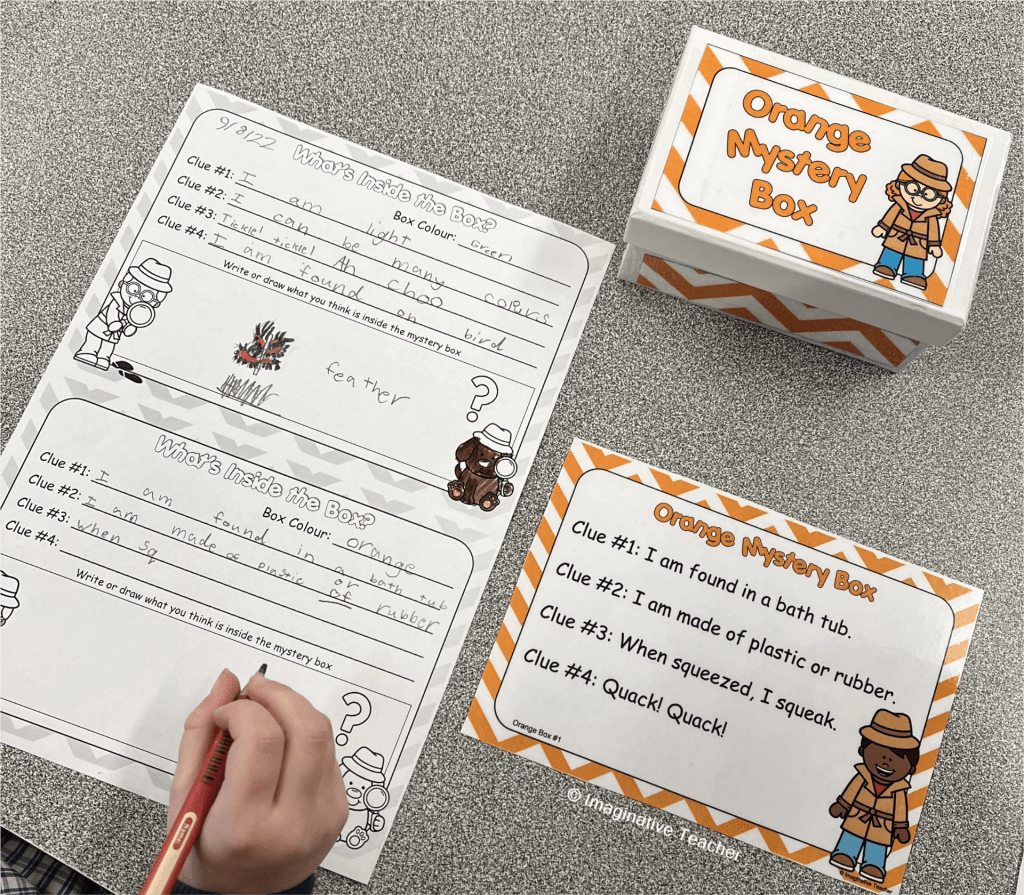
Wanting to keep the momentum going, I devised a special series of mystery boxes. Each of the 6 sets has 6 series of clues (so 36 in total!)
Simply use 6 small boxes and inside each one place an item that corresponds with the clues provided. The clues have been designed to be for items you may already own or could very easily be found at a discount store.
There are three ways to use this set.
1. In small groups
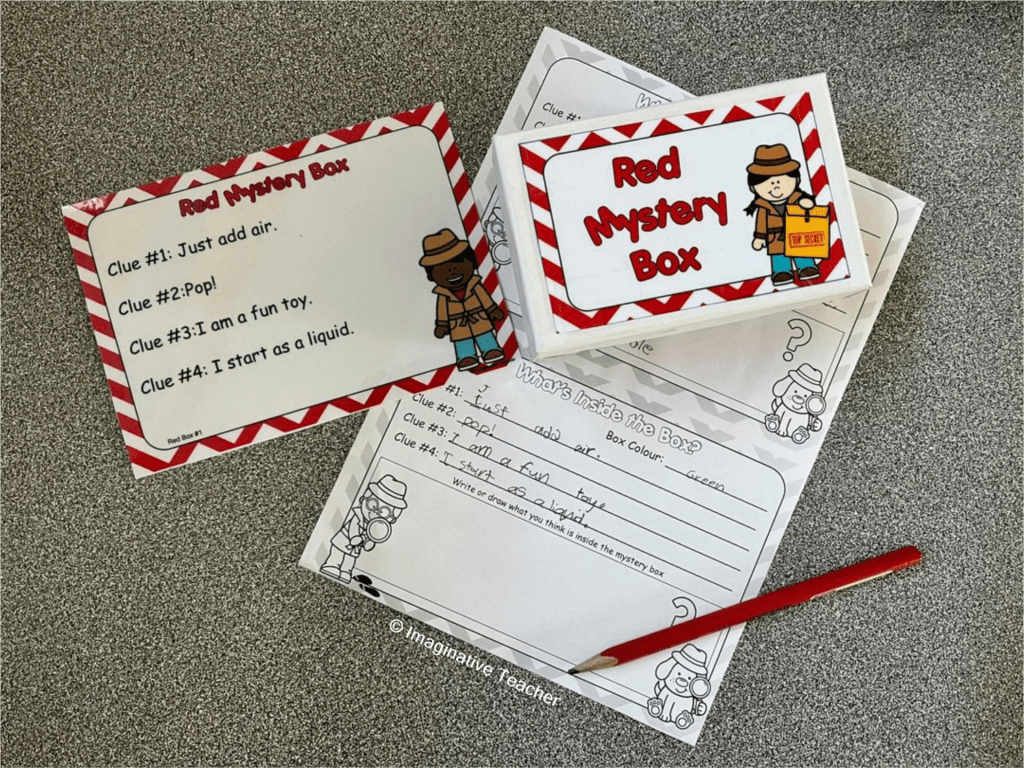
Form students into small groups of 3 or 4, with each group given one box. Using only the clues and the ability to give the box a little shake (but not open it!), students read the clues, record each one and make an inference as to what is inside the box by drawing and writing what they believe it to be. Some of the clues are easier than others so beware! The boxes are then rotated to the next group.
Students are provided with the chance to discuss their ideas with other groups and workshop other possible answers. As a class then come back together, with students providing what they inferred was inside each box, plus justifying their answer in relation to the clues. For example, “I think there is a balloon in the box because one of the clues said ‘pop!’.“ Finally reveal the contents of each box to cheers of success and acknowledgement.
2. As a whole class.
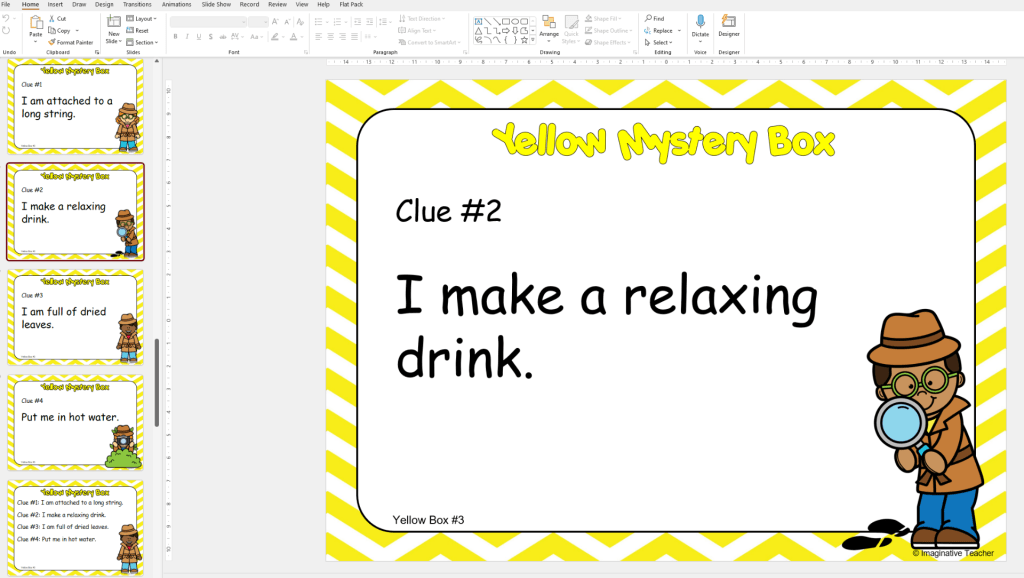
Use the individual slides one at a time with the whole class recording the clues individually and discussing the possible options. Ask for inferences after each slide and see how student’s ideas change with each extra provided clue. The last clue is usually the give away, with the first three clues designed to have students thinking outside of the box!
3. As an independent literacy center.
Simply set up the sealed boxes, then individually have student read then record the clues before making their final inference.
Included in both US and AU/UK English, this is perfect for an interactive, engaging activity. Includes 36 different sets of clues, so this could easily be a lesson that is repeated multiple times with different answers, or simply choose the clue cards that cater to objects you already own.
Recording sheet and full answers are included.
Happy teaching!
✏️❤️ Katie
