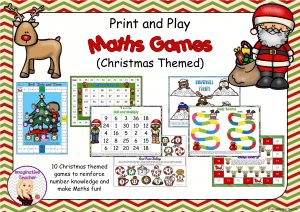
It’s that time of the year again, when your students are really tired, but anticipating the school holidays and the arrival of the jolly guy in red!While keeping learning focused, it’s also a time to have some fun, (reduce your stress levels!) and incorporate the Christmas season within the classroom. To do this, I love using numeracy games and creative literacy tasks.
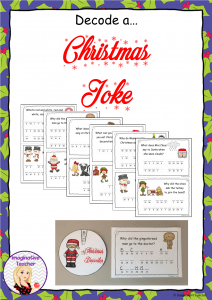
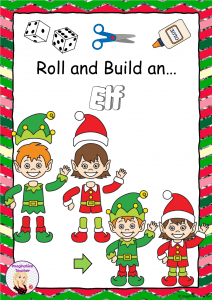
Over the 15 years that I’ve been teaching, I’ve paid a lot of attention to what my classes have enjoyed and also really learned from. Using this understanding, my ‘Print and Play’ series was born! The games are exactly that – print and play! Just grab a dice or two, some counters and begin playing. Perfect for reinforcing prior concepts with pair work, centres or whole class activities (just print multiple copies), my kiddos don’t even realize they’re learning!Another activity my students LOVE involves (dad) jokes and decoding. Spin the decoder wheel and solve the riddles!Do you have an elf on the shelf in your room? Build an elf using Maths!Make sure you follow out TPT shop as new Print and Play game sets are released!✏️❤️ Katie
Year: 2018

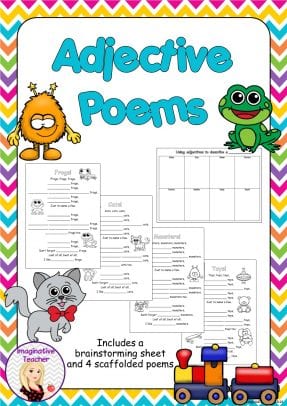
Being creative with adjective poems
Learning about parts of speech can be really tricky for some students. I love to incorporate fun activities that have contextual meaning to bring the words alive. This fortnight we are continuing our understanding of adjectives!
One of the activities we are participating in is adjective poetry. Here’s how it works:
Scaffolded by the teacher and brainstormed together, we first devise a bank of adjectives on a particular topic under the descriptive headings (we chose frogs).
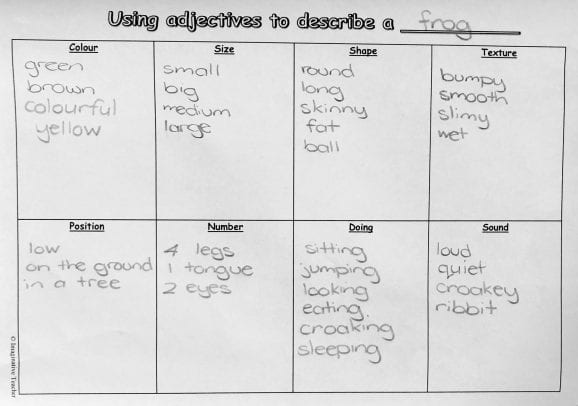
Then we took those adjectives and placed them into a poem template to bring the words alive!
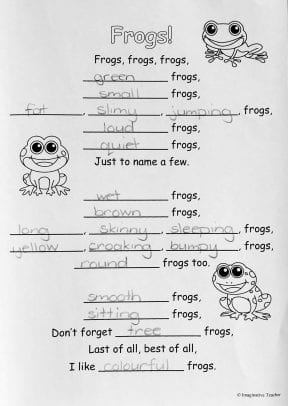
The point is, there’s no reason to learn about adjectives, or verbs or nouns for that matter if they aren’t used in a way students can understand! For an extension task during our literacy centers, students will then independently create their own bank of adjectives and create an adjective poem on another topic. My class loved this activity and the creative ideas were hilarious and enjoyed by all!
Click on the image below to get your adjective poem resource.
✏️❤️ Katie
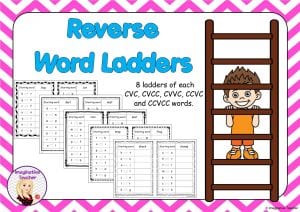
Reverse Word Ladders
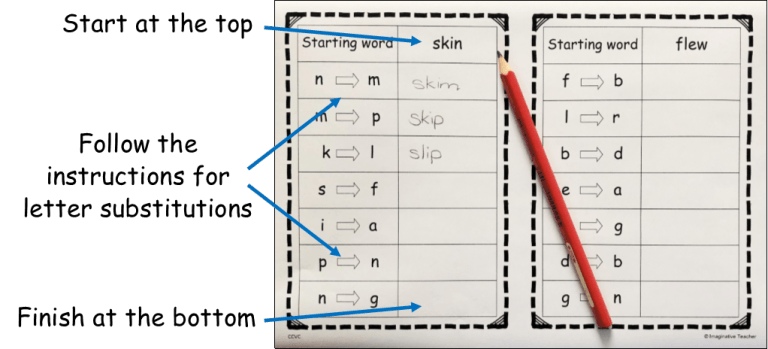
Letter substitution and word creation are two skills that students will find invaluable along their English learning journey. As students make new words based upon changing letters that represent a sound / digraph, the letter sound associations are strengthened through practice. It can also be a valuable way for students to learn new words and increase their vocabulary.
For example as students make the word ‘flan’ from ‘flap’ they not only reinforce the letter sound associations for ‘f’, ‘l’ and ‘a’ but they may then add words such as flan to their vocabulary.
These reverse word ladders are a little bit different from the usual style of ladders. Usually students start at the bottom of a ladder and climb upwards with their words- these ladders start at the top and work downwards. When we read a book, we read from the top to the bottom, so asking a student to work from the bottom to the top actually confuses them.
This packet includes 4 pages (with 2 on each page so 8 in total) of CVC, CVCC, CVVC, CCVC and CCVCC words. Plus the answers of course! Click on the image below to get your packet.
✏️❤️ Katie
Nature Play and the 3 R’s
Nature Play and Nature Education have become the ‘next big thing’ here in Australia and at my school it’s no different.
This year I have been working in conjunction with three other classes (grades 1 and 2) on a rotational basis to deliver some fantastic opportunities to students to learn about nature and mindfulness. If students learn about the environment and the importance of keeping it clean, then the future generations will care for the land and truly appreciate how wonderful it is.
In our rotations, the four classes are combined and split into 4 mixed groups. This encourages mixing of grade levels and the chance for students to make new friends. With the four groups, each teacher is responsible for a different focus, whilst incorporating nature: 1) Nature Play, 2) Art, 3) Mindfulness and Meditation and finally, 4) STEM.
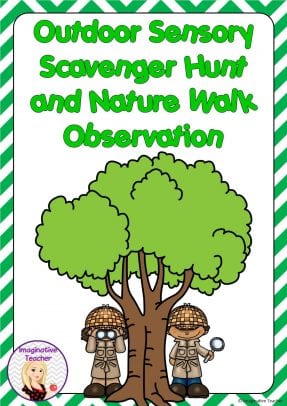
We began in week 1 with a sensory scavenger hunt around the school, before participating in our weekly rotations. The students really enjoy their weekly sessions and can’t wait until the following week to learn some more. Each fifth week, the four classes participate in an excursion based around Nature. Our first excursion involved going on a local nature walk. There was a huge creek that students happily splashed around in, giant boulders for climbing, different tree textures to feel and various birds to listen to.
We are so lucky to have this amazing place 5 minutes down the road from our school!
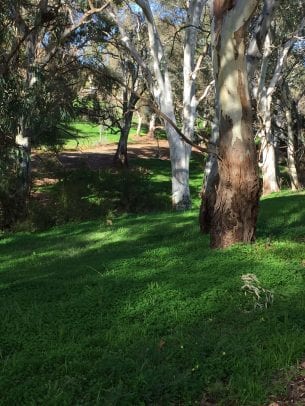
Click on the picture below to download a FREE copy of the scavenger hunt plus the Nature Walk Observation recording sheet we completed when we returned back to school.
Then after another four weeks of rotations, this week is our final excursion for the term. We are going to a huge, recently built Nature Play playground about 40 minutes from our school. My class is so excited!!!!
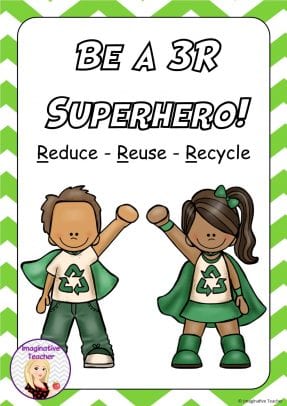
Back in class to compliment our Science lessons we have also been looking at the three R’s, (Reuse, Reduce and Recycle) and trying to understand what happens to rubbish that enters our oceans.
Click on the picture below to download a FREE copy of the worksheet ‘Be a 3R Superhero!’.
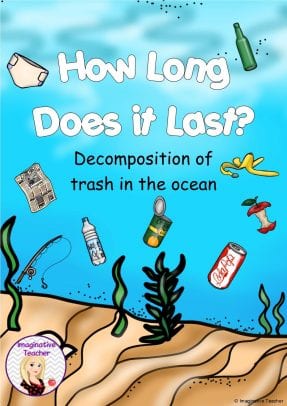
My students were amazed to learn about the Great Pacific Garbage Patch and how long it took for garbage in the ocean to decompose. We printed the cards from the pack below back to back and made a huge class timeline, relating the amount of time to things they were familiar with. (Ie an apple core takes about the same time as a school term while a pair of wool socks takes the same as almost their whole lifetime so far!) . Then the students completed the individual cut and paste tasks.
Last week we were lucky enough to have KESAB visit and talk to the students about the importance of the three R’s. We have had such a blast learning about the environment this term!
I’d love to know what activities you do with your class to learn about the environment.
✏️❤️ Katie
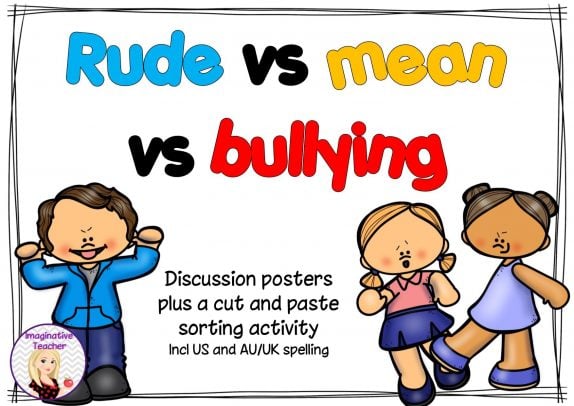
The difference between rude, mean and bullying behaviours
Continually focusing on positive behaviours and teamwork throughout the whole year is an absolute must in the classroom!
While front and centre in a prominent place in my classroom, I like to have a poster with the golden rule. I refer to this constantly and on a daily basis. It only takes a few weeks before students are also using it as a guideline for their own attitudes and actions.
However it’s also important for students to understand what negative behaviour is, what is looks like and how it makes them feel. I find that when discussing undesirable behaviours, that students tend to confuse the difference between being rude, being mean and bullying.
These posters are designed to be used to guide the teacher and also as a reference for health lessons. In this mini pack is a cut and paste activity, with various behaviours to be sorted under the headings on rude, mean and bullying. Both AU/UK and US spellings are included.
If you’d like a copy of the free mini pack, just click on the picture below.
✏️❤️ Katie
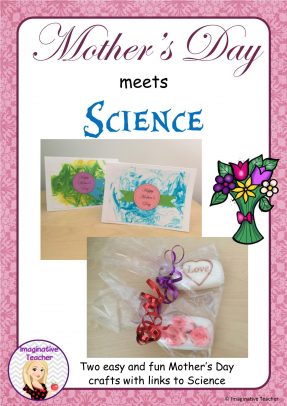
Mothers Day meets Science
Today I am launching a new series of FREE resources I will be creating entitled ‘….. meets Science’. As a STEM specialist teacher I am always looking for new ways to incorporate STEM across the curriculum so decided to put together a series of free resources to do just that and help celebrate special occasions in more ways than a simple print and colour.
Our first ‘….meets Science’ release comes to you today to celebrate Mothers Day!
Pin it now to come back to later!
Every year for Mother’s Day I try to devise something different for my students to make. As I am teaching younger students this year, I needed a cute craft that they could make but the Mums would also love. Now I’m not one to make something just for the sake of making something, so I combined a bit of cross curricular teaching into our craft this year.
For our first craft, I began with a Health/History lesson on the importance of good hygiene, keeping clean and why it was important. As a class we made a Y Chart on what being healthy looks like, sounds like and feels like.
Then we watched this video:
The History of Soap – https://youtu.be/O5ZblEY457o
and this one:
The Science of Soap – https://youtu.be/EK7IsJ2eFrg
Time to make!
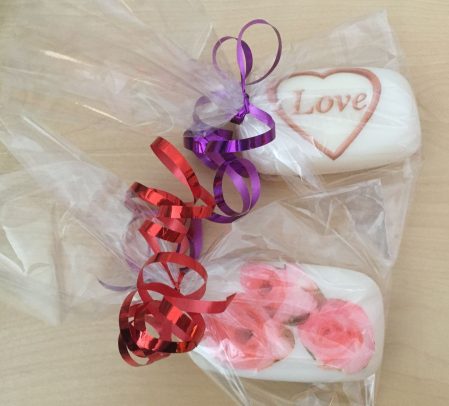
Craft 1: Decoupage Soap
You will need:
- Bars of soap (pack of 8 for $2.29 from Woolworths)
- Patterned paper serviettes (pack of 12 for $2 from Cheap as Chips)
- PVA glue
- Choose the pattern from the serviette you wish to place onto your soap.
- Carefully cut the chosen picture out.
- Pour glue onto the soap and spread it evenly.
- Place the cut out picture onto the wet glue.
- Put more glue on top of the image and spread it out evenly, covering the image.
- Let the glue dry.
- Place the soap in a cellophane bag and tie with ribbon.
Note: Patterned serviettes work best as they are thin, will stick down with the glue easily and will break down quite well once the soap is being used. Images printed onto paper tend to be a bit too stiff once the glue dries.
Our second craft was a card, and we combined this into our Chemical Science topic of how things can be mixed and changed.
Craft 2: Shaving Cream Marbling 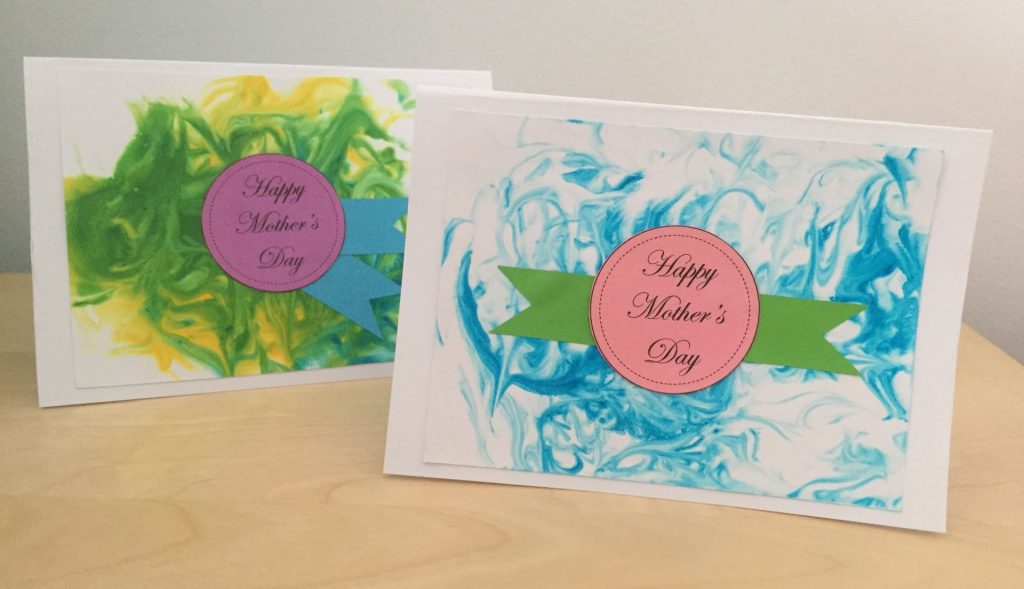
You will need:
- Shaving cream (the cheap, generic brand is perfect!)
- Food colouring
- Toothpicks
- A small lid or tray
- An old ruler
- Cardboard
- Spray a thin layer of shaving cream on to the small lid / tray.
- Spread it out evenly using the ruler.
- Place drops of food colouring onto the shaving cream.
- Using a toothpick, swirl the food colouring and the clean shaving cream around on the lid.
- Place a piece of cardboard onto the coloured shaving cream and press down gently.
- Slowly pull the cardboard off the shaving cream.
- With an old ruler, scrape off the excess shaving cream. The cardboard will already be dry as the shaving cream has a drying agent included in the ingredients.
- Use it as the background of your card.
If you would like the templates to make the card shown above plus a set of step by step picture instructions, simply click on the image below to be taken to the free download.
I hope your class has as much fun as we did! More free ‘…meets Science’ activities to come!
✏️❤️ Katie
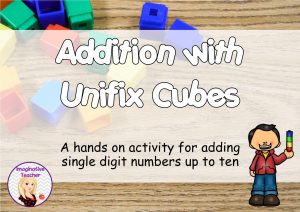
Hands on STEM – Addition with Unifix Cubes
I have quite a few younger year one students who really struggle with basic addition. They also often confuse the concept of addition with subtraction. For them, using hands on manipulatives rather than fingers is an absolute MUST!
This is a hands on STEM activity I created to help those students really visualise adding single digit numbers up to ten, record their thinking with colouring in and then writing the corresponding number sum.
By also providing two different recording sheets (the first is for task cards 1 to 6, the second is for cards task 7 to 12), I am able to differentiate for those students who can do more by providing both recording sheets and the full set of task cards and also those students who need to focus on smaller tasks, by providing only the first 6 task cards and the first recording sheet.
If you’d like a copy of the free hands on STEM activity, just click on the picture below. I hope you find this useful!
✏️❤️ Katie
Didn’t hear? Ask a peer!
This year I am lucky enough to teach a truly gorgeous group of year 1 and 2 students. However, no matter how lovely a class of children are, there are so many things going on in their world that they often ‘switch off’ and honestly need to be taught HOW to listen to instructions.
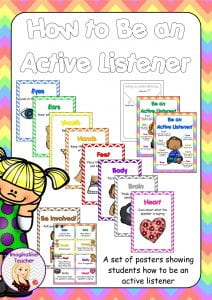
Last year I began teaching the concept of being active listeners and it was amazing how quickly they picked it up. After introducing the 8 individual key areas (eyes, ears, mouth, hands, feet, body, brain and heart), I would have students demonstrate exactly what being an active listener looks like. Role playing is such fun! Also by using positive praise such as ‘I can see Jack is using wonderful eye contact ‘ etc on a regular basis, it really did help to remind students about the correct way to listen respectfully.
Now I’m not saying that my kiddos are brilliant listeners all the time (it takes A LOT of work for some!), they are now taking big leaps in being respectful and appropriate listeners.
If you’d like a set of the Active Listening posters I created, click on the picture below.
Ok, ok, so what if students are struggling with their listening during instruction time? I find that a lot of my younger students are so excited to be in class that sometimes they don’t quite catch all of the instructions to a task and I will hear ‘I can’t remember what to do. Miss, what was that last bit?’ Or ‘Can you tell me again what to do?’
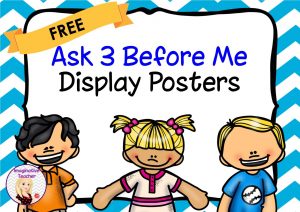
To put the responsibility back to the students for their own listening behaviour, I created a set of ‘Ask 3 Before Me’ reminder posters. A simple concept – if a student hasn’t heard all of the instructions, they need to go and ask 3 responsible classmates what the expectation is before they come to me to ask. I assure students that absolutely they can come to me at any time – but first they need to step it up and address the issue themselves, rather than expecting me to solve it for them. If they didn’t hear, ask a peer. I also use a quick hand signal of holding up 3 fingers – a voice saver and reminder to do what needs to be done.
If you’d like a copy of the free posters, just click on the picture below.
✏️❤️ Katie
Planning made easy!
Every year school year, I sit down to begin planning and look at the curriculum, get quite overwhelmed and walk away for 24 hours (Pinterest is a great distracting tool!). The Australian National curriculum is soooo incredibly full it’s easy to get confused about what to cover each term, what you’ve already taught and what still needs to be taught.
I’m a BIG lover of checklists – they help me keep focused and I feel so accomplished when I can tick things off!
Here’s my solutions to my planning issue…. Curriculum checklists!
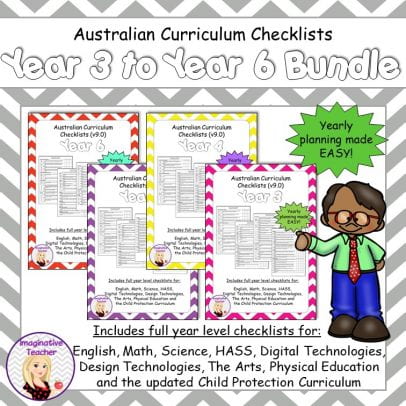
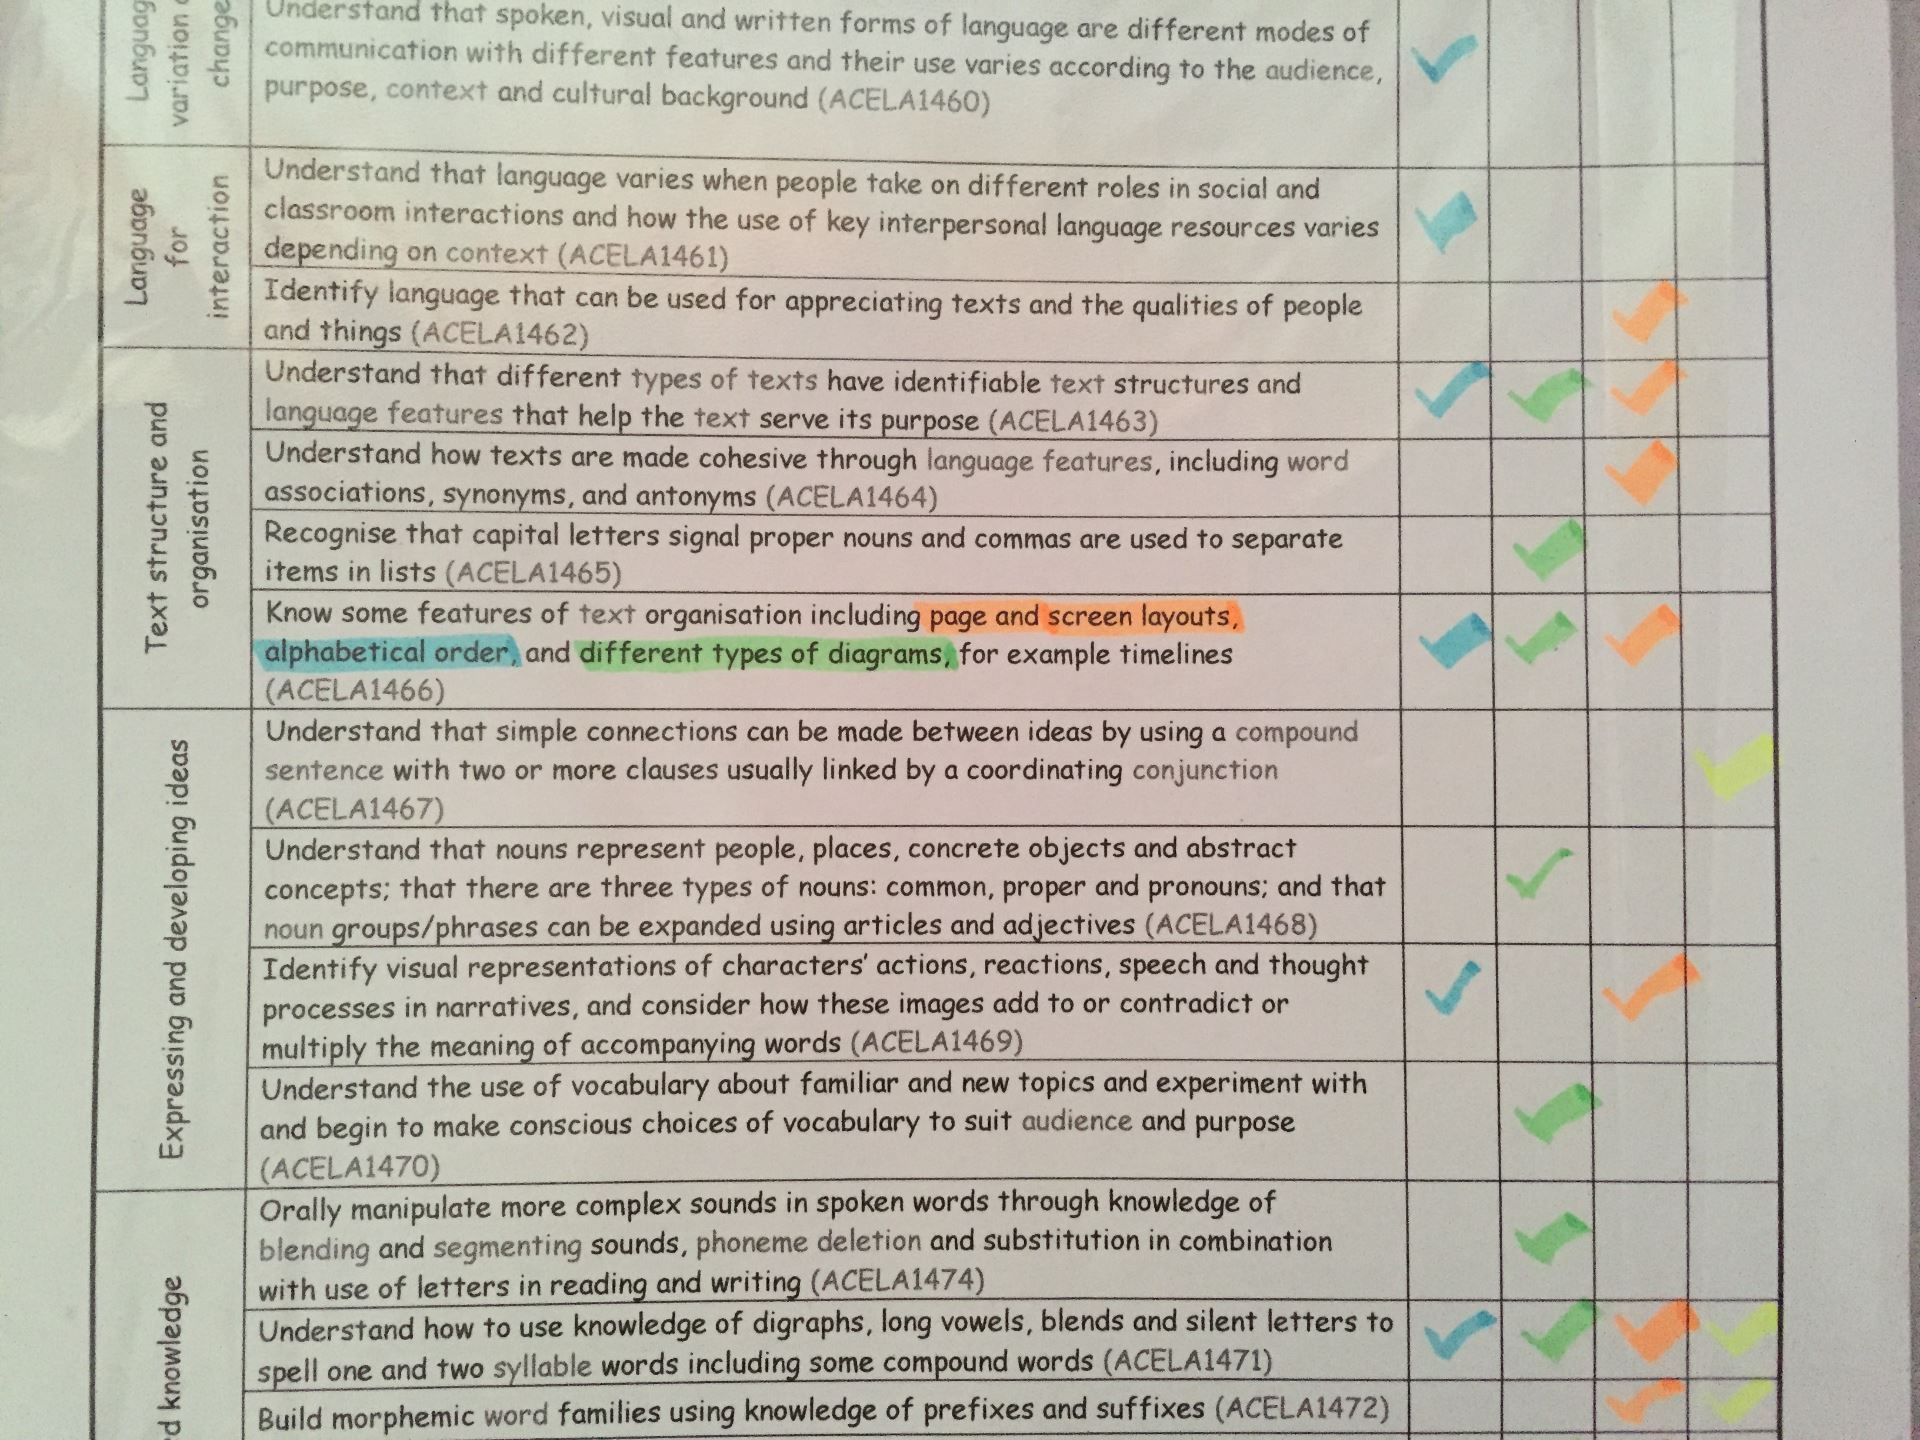
These checklists that I have put together cover ALL learning areas for each year level, with clearly defined strands, sub-strands and content descriptions to keep you on track. Each checklist includes 4 tick boxes – one for each term to allow you to keep track of what has been covered each term and what still needs to be addressed.
I have intentionally avoided using colour and distracting clipart to keep the documents professional looking and adaptable.
How do you use the checklists?
Step 1: Print off the checklists of the area/s you wish to keep track of.
Step 2: Place the checklists in a folder, with the pages back to back. This allows you to see whole curriculum areas in one glance.
![]()
Step 3: Decide which of the content descriptor you are going to cover each term and as it is covered, tick it off in the appropriate column for that term. This is what my checklist looks like by the end of the year:
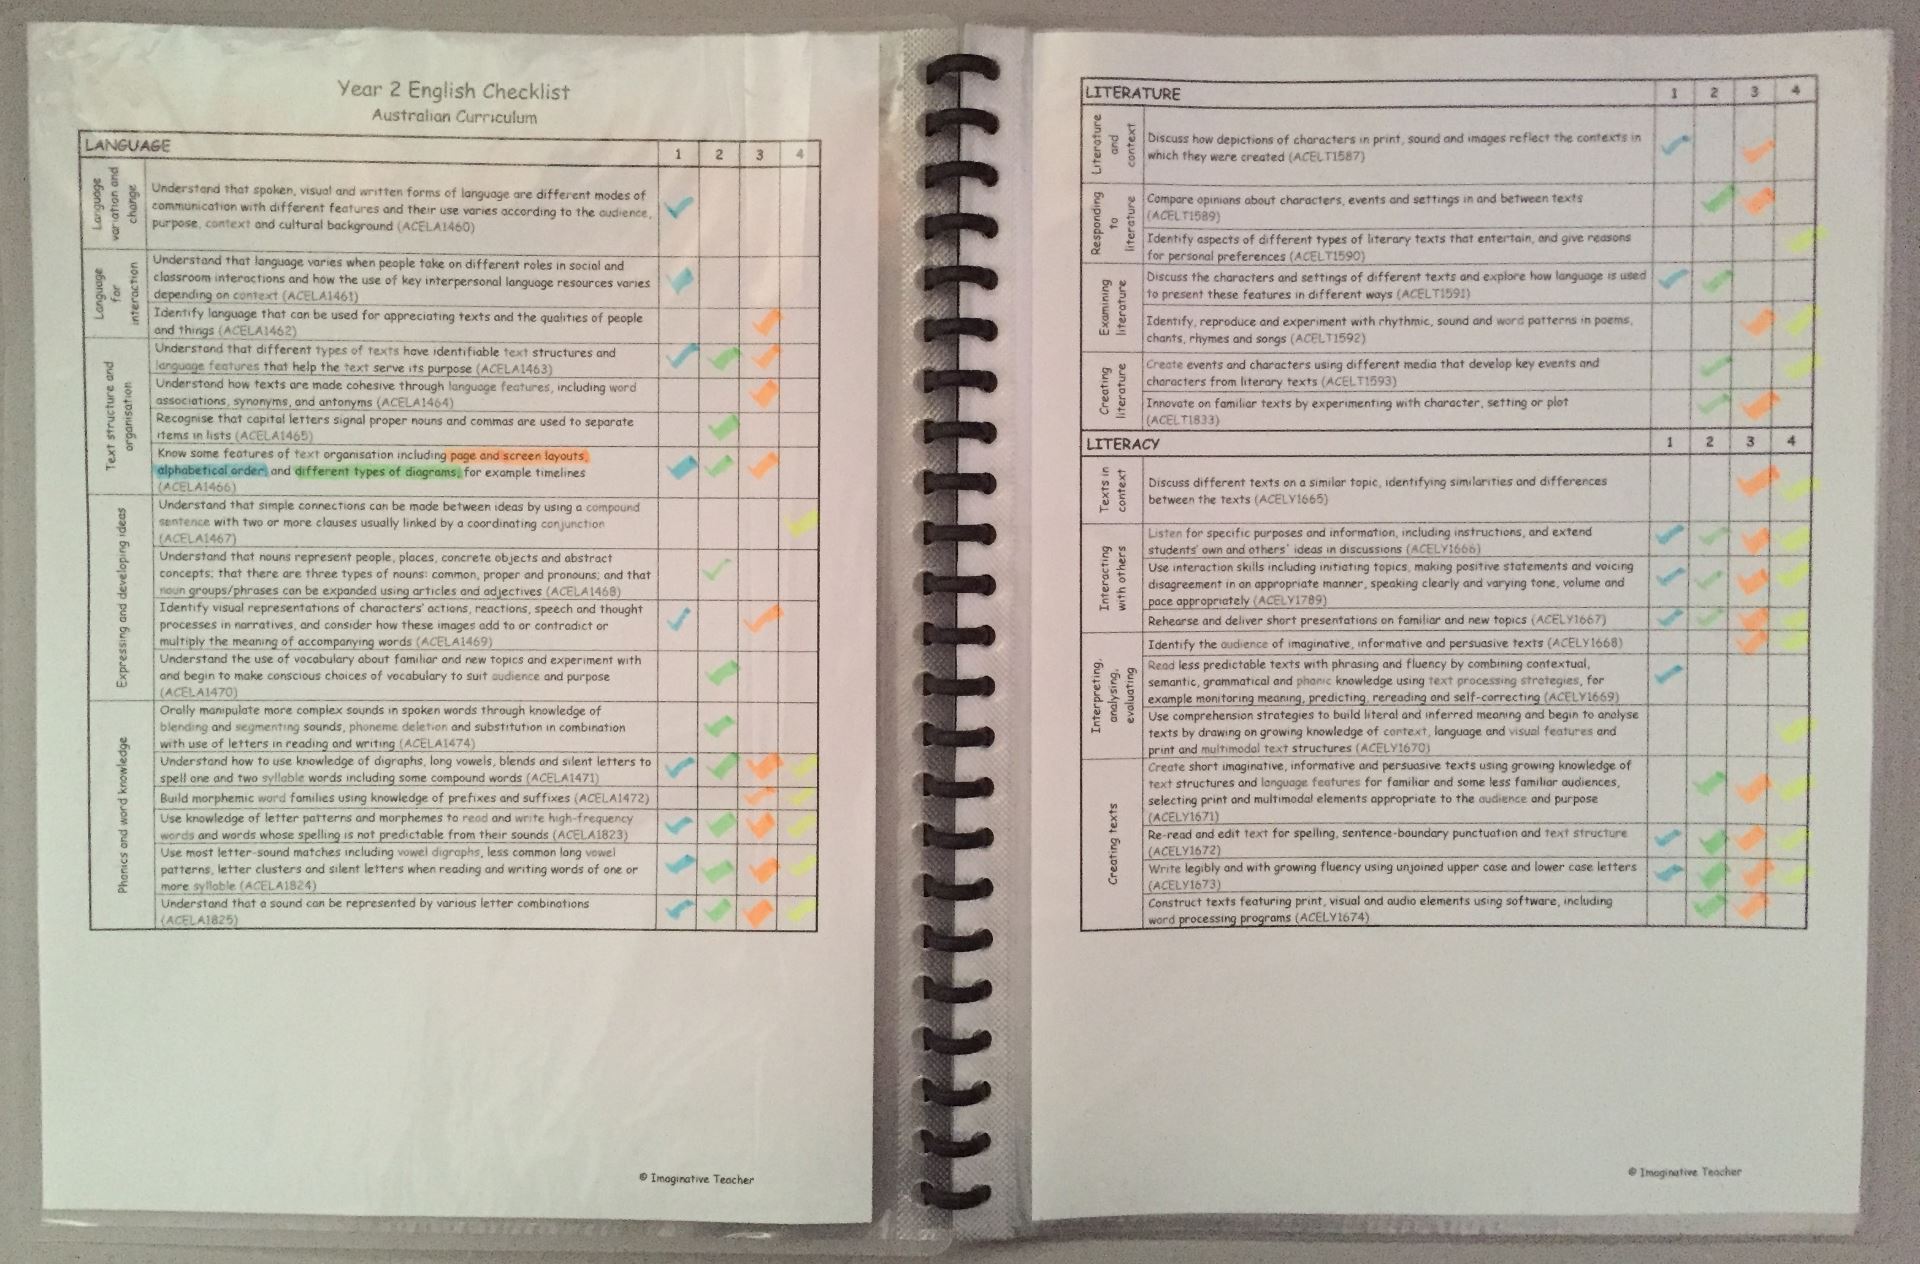
You can see I have intentionally used different colours for each term to help me personally visualize how I’m going. You’ll notice that for one content descriptor I covered one part in one term and another in a different term, hence the highlighting.
Learning areas covered for Years Foundation to 6 Checklists:
English, Math, Science, HASS (Geography and History), Digital Technologies, Design Technologies, The Arts (Dance, Drama, Media Arts, Music and Visual Arts), Physical Education and the newly updated Child Protection Curriculum.
I have found these to be so successful that even my fellow colleagues are now using them. These checklists are also ideal to take with you when you participate in your annual performance review.
NOTE – Every time the curriculum is updated – I will also update these checklists to make them continually relevant and useful. The current version of the checklists is version 9.0
Happy planning!
✏️❤️ Katie