When I work, I sometimes sit at my desk and other times on the couch with my laptop (as I am right now 😄).
As educators, we know that academically all students work differently, and the same goes for how they feel comfortable in a classroom. I always have a comfy corner with a couch, another with beanbags, along with the option of desks. My students often ask if they can work on the floor. I’m ok with that – as long as they are on task.
Providing multiple options for seating isn’t just a fad. It’s common sense.
One thing that I made for my classroom is crate seats. Each one is made using MDF, wadding, another layer of cushioning and gorgeous fabric over the top. The best part is, not only are they fun and portable, but can also be used as additional storage if needed.
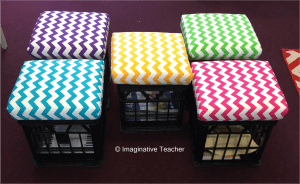
Here’s how I made them…..
You will need:
- 1 piece of MDF cut larger than the crate opening
- 1 piece of MDF slightly smaller than the crate opening
- 1 piece of thick foam cut to the same size as the larger piece of MDF
- 1 large piece of wadding
- 1 extra larger piece of the fabric of your choice
- 1 milk crate
- staple gun
- glue
- screws
- a spare pair of hands if available!
The MDF I purchased from Bunnings, while the foam came from Clark Rubber.
Step 1
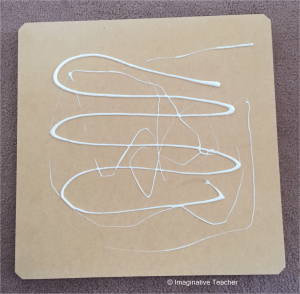
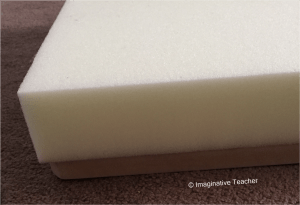
Cut a piece of MDF larger than the crate opening. This will the seat base. Cover it in glue and attach a piece of thick foam cut the same size to the board.
Step 2
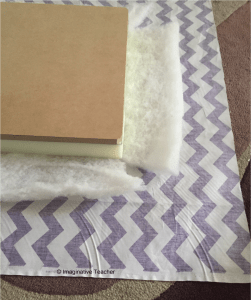
Lay your fabric of choice face down, a layer of wadding in the middle and the glued MDF/foam base on top. Cut notches in the wadding to reduce the bulkiness in the corners of the foam once it’s folded.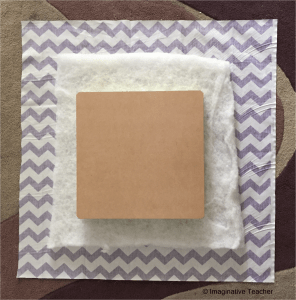
Step 3
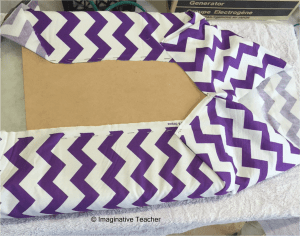
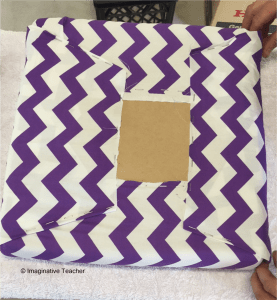
Here’s where that extra pair of hands comes in handy! Fold up each side one at a time, and staple in place. Make sure you pull it tight before stapling (but not too tight!). Do opposite sides first before rotating to staple the other two sides. Neatly folding sides 3 and 4 before stapling (as if I was wrapping a present), provided really neat corners.
Step 4
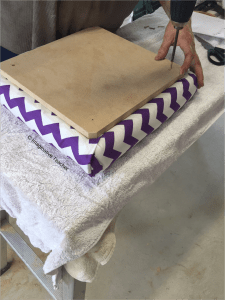
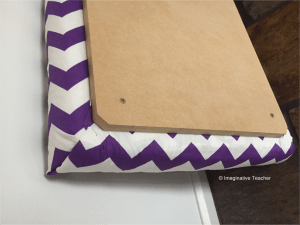
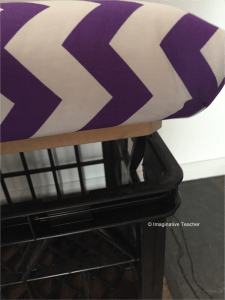
Screw down the smaller piece of MDF into the middle of the seat. This not only holds the fabric in place, but also allows for a lip inside the crate so the lid doesn’t fall off (notice the corners cut on an angle to allow for a better fit).
Step 5
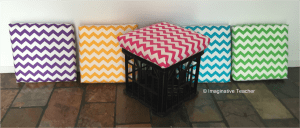
Repeat with different fabrics to make a variety of seats!
Here’s how I used them to store student’s filled workbooks which I needed to keep for report card writing time.
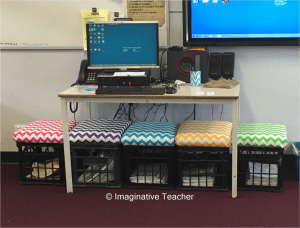
All up, each crate lid cost me about $20 each. It may seems steep but this is now the third year in a row I have used them successfully and they are wonderful not only for general class time, but also to grab and use at individual student conference time or listening to a student reading one on one.
If you make any, please do send me a pic! I’d love to see them!
✏️❤️ Katie